LNBits: A New Version of The LNURL-pay Extension
This now contains the option to create a Lightning Address for each LNURL-pay code created and makes it easier to have and manage multiple LN addresses on the same domain.

This now contains the option to create a Lightning Address for each LNURL-pay code created and makes it easier to have and manage multiple LN addresses on the same domain.
How to update
If you already have your own LNBits instance (you should), it can be done in a few seconds without having to restart it.
- Open your LNBits instance as super admin, not a regular user. If you still didn't saved the bookmark with your admin session, go to your LNBits console logs and check it there, it is indicated with the userid necessary. Use that link to manage it.
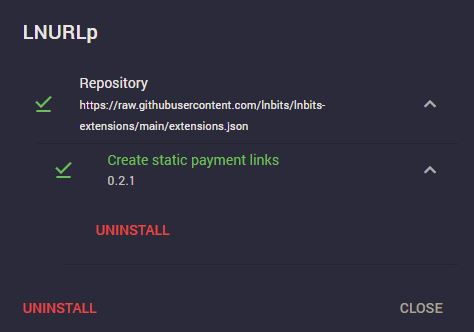
- Go to "Manage extensions", and click on "ALL", search for LNURL-p, then click on "Manage".
- Open the details of the extension and click on version 0.2.1, then click "Install." Done!

- Now go and open that extension from the left panel, LNURL-p.
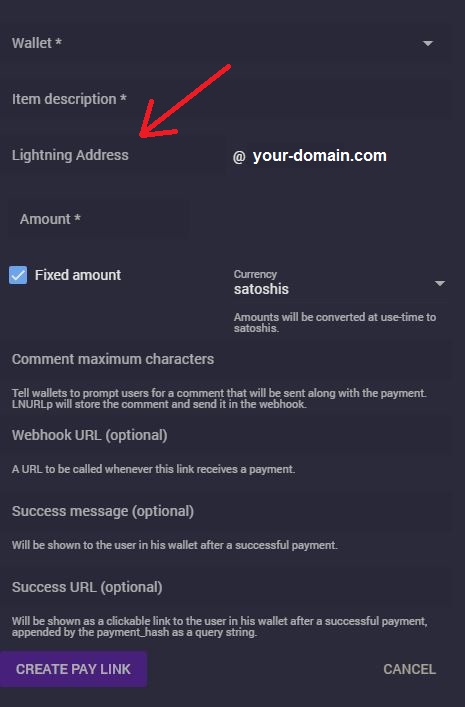
- If you have already created some LNURL-p, you can click on edit and just add a LN Address to each.
- If you haven't created any LNURL-p then when you create one you will see a field to insert alias for a new LN address @ your-domain.com

- Set all the other details as you wish for your LNURL-p and it's done. Now you can receive sats to your newly created LN address.
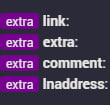
If you've received a payment via your LN address, you'll be able to see it in the received payment details (click on the green arrow for the payment).

Another aspect: you can have as many LN addresses you want, but all of them will be under your hosted domain where your LNBits is installed.


